Connecting your first Robot in UiPath it’s not that easy. Follow this tutorial in order to start your journey into RPA in less than 5 minutes.

Instructions
Create Machine

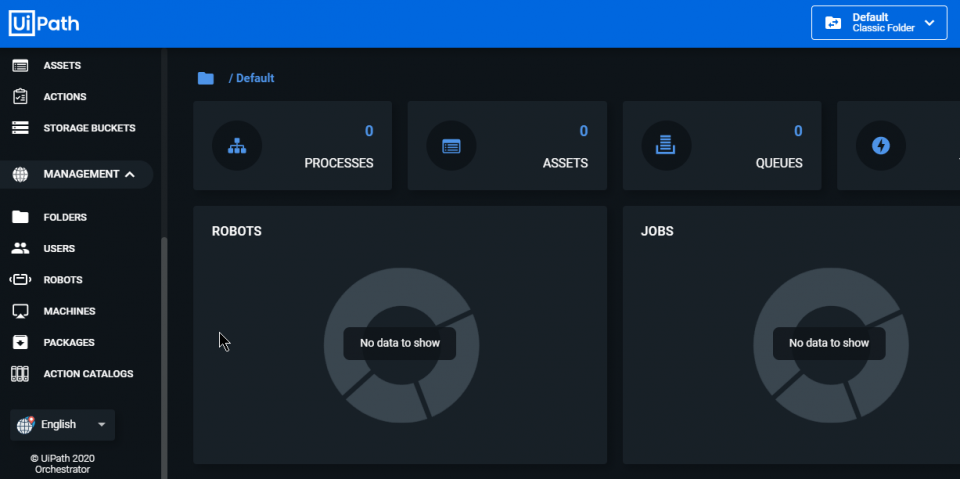
In your Orchestrator, go to Machines tab and select -> Add -> Standard Machine

To retrieve the Machine Name, press WIN+R and write “cmd” to open the Command Prompt

Inside the Compand Prompt type “hostname” and press enter. The text will be the Name of your Standard Machine

Insert a Description (not mandatory) and select the type of Machine to create, for example Unattended. Finally Click “Provision” to create the Machine.

Select the copy icon next to the Machine to Copy the KEY to the Clipboard.
Connect Machine

Go to Windows->Start and open UiPath Assistant (or UiPath Robot, based on the version you installed)

Open Orchestrator Settings

Insert the Machine Name, the Orchestrator path (usually is https://platform.uipath.com for Community Version), and paste the Machine Key.
Finally Click Connect and the status will change to “Connected, Licensed”.
Create Robot

To Create a Robot, go to “Robots” tab above Machines and select Add->Standard Robot

Select the Machine, insert the Name you want to give to the robot and select the type of the robot.

In order to insert domain/username, reopen the Command Prompt and type “whoami”

Insert the text from the prompt and eventually the password, if the robot is not Studio.
Finally Click Create.

You can see in the first “Robots” tab that the robot is now available.
Create Environment

Inside the Tab Robots, click on Environment and Add to create a new Environment. Choose the name you prefer and select Create.

Now you can select the Robot to add it to the Environment, and click Update
Congratulations!
Your Robot is ready. You can start creating a process and upload it to the Orchestrator in order to execute the Job.